
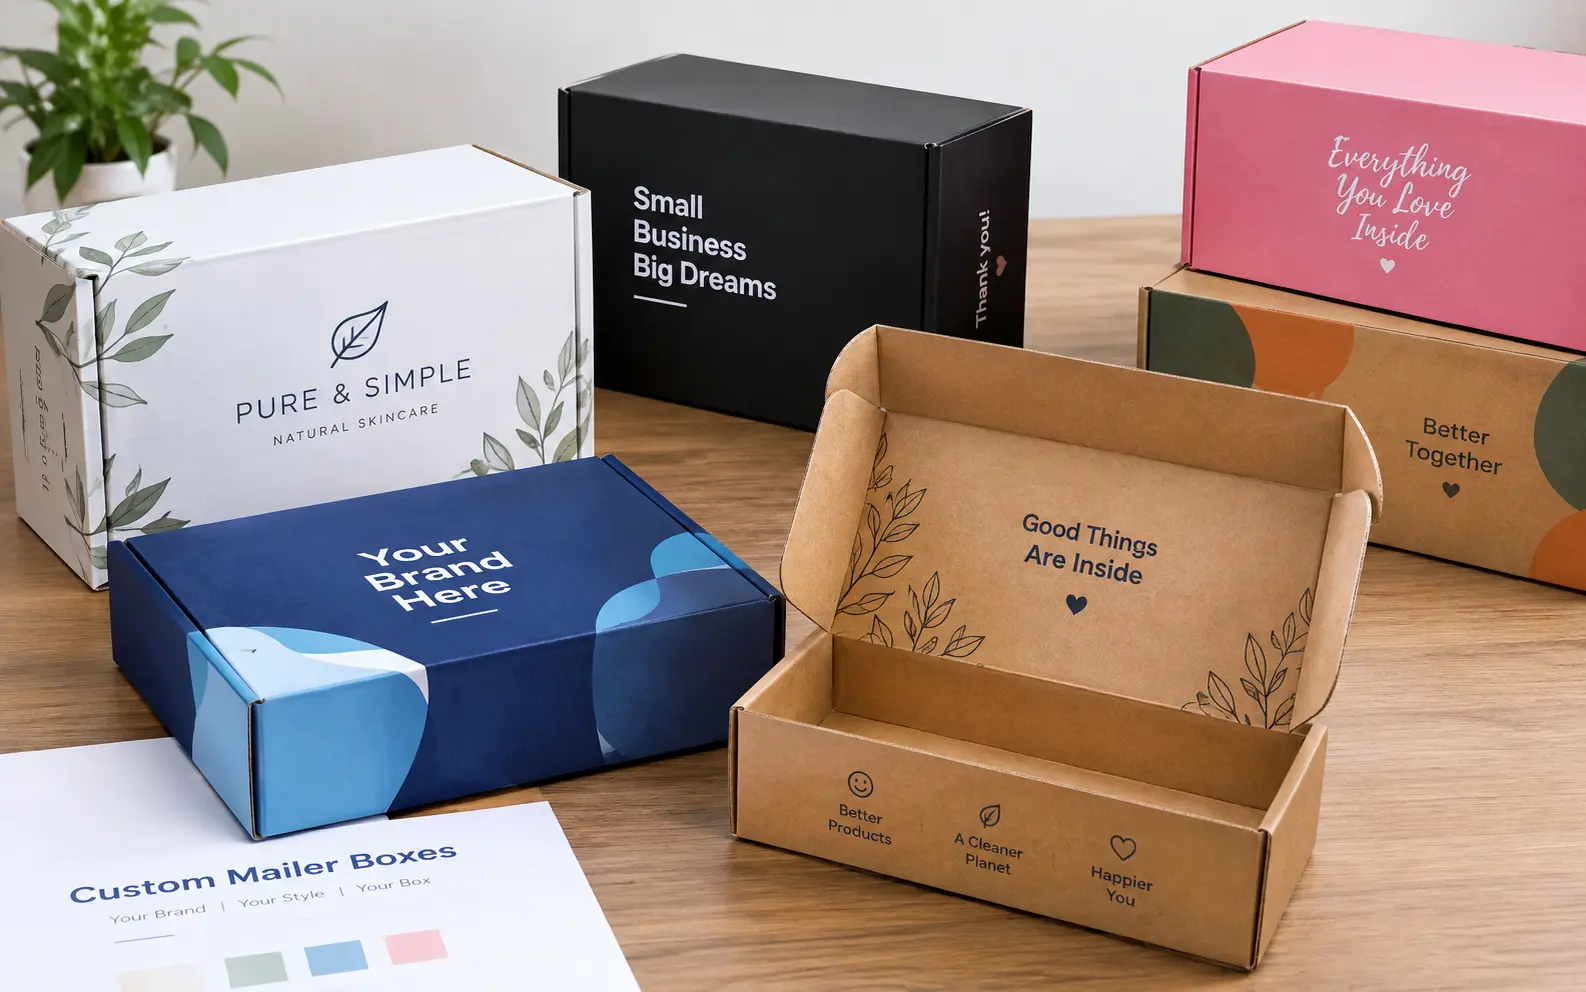
A custom mailer box is a printed, self-locking corrugated box built to ship a product straight to a customer without a separate shipping carton on top of it. It typically costs between $0.65 and $3.50 per unit depending on size, quantity, and material, with most suppliers offering minimum orders as low as 1 to 250 units. The right box protects your product, cuts your shipping cost, and turns the delivery moment into free marketing.
That sounds simple enough. But I've watched brands burn through their entire packaging budget on a box that looked great in the design tool and then cost them a fortune the moment UPS or FedEx weighed it. So this guide covers what the box actually is, sure, but it spends most of its time on the stuff that determines whether your packaging decision saves you money or quietly drains it.
What Actually Goes Into the Price You're Quoted
Every supplier's calculator spits out a number, but that number is built from five levers, and knowing them means you can negotiate or adjust your spec instead of just accepting the first quote.
- Box footprint (surface area): A bigger box uses more board and more ink. Going from a 9x6x4" box to a 10x8x4" box can bump your per-unit cost 15-20% even at the same quantity.
- Flute type: E-flute (1/16" thick) is standard for lightweight mailers under about 10-15 lbs. B-flute (1/8") costs more per square foot but survives rougher handling and heavier fill weights.
- Print coverage: A one-color logo on a kraft box prints cheaper than edge-to-edge full-bleed CMYK graphics on both the inside and outside. Interior printing especially adds cost because it's a separate pass.
- Quantity tier: Setup and prepress costs get spread across the run. Ordering 1,000 units instead of 250 often drops the per-box price by 30-40%, though the exact break points vary by supplier.
- Material finish: A glossy or satin-coated board (sometimes branded as "Dreamcoat," "SuperGloss," or "Magic White" depending on the vendor) runs higher than uncoated white or kraft board because it needs a separate coating pass.
Here's a quick way to see how these stack up across typical order sizes:
| Order Quantity | Typical Price per Box | Best Fit For |
|---|---|---|
| 1–50 units | $2.50–$4.50 | Sampling, one-off gifts, testing artwork before a full run |
| 100–500 units | $1.20–$2.50 | Small e-commerce brands, first production run |
| 1,000–5,000 units | $0.65–$1.20 | Growing DTC brands with steady monthly volume |
| 10,000+ units | $0.35–$0.65 | Established brands, retail distribution |
Prices vary by supplier, box size, and print complexity, so treat this as a directional range rather than a quote.
The Shipping Cost Trap Almost Nobody Warns You About
This is the part I genuinely think deserves more attention than it gets. Carriers like UPS, FedEx, and USPS don't just charge by actual weight anymore. They charge by dimensional weight (DIM weight), which is calculated from the box's outer dimensions, not what's inside it.
The formula carriers use: (Length × Width × Height) ÷ Dim Divisor (usually 139 for domestic US shipments, though it varies by carrier and service level). Whichever is higher, actual weight or dimensional weight, is what you get billed for.
Here's why this matters for mailer boxes specifically: a lot of brands order a box with generous extra space "just in case," fill the empty space with tissue paper or bubble wrap, and then get hit with a DIM weight charge that's higher than if they'd ordered a tighter-fitting box. I've seen sellers pay an extra $1.50 to $3.00 per shipment for months without realizing the box size, not the product weight, was driving the cost.
Practical fix: measure your product at its widest points, add roughly 1/4" to 1/2" of clearance per side for void fill, and stop there. If you're shipping thousands of units a month, that quarter-inch of restraint compounds into real savings. Several suppliers (Packwire, for instance) now offer free dimensional weight or box size optimizer tools specifically because this problem is so common. Use one before you finalize a size, or run the math yourself with a $10 calipers set and a spreadsheet.
Understanding Flute Grades Without the Jargon
Competitor pages throw around "E-flute" and "B-flute" like everyone already knows what that means. Here's the plain version, based on what each is actually built to survive:
- E-flute (1/16" thick, roughly 90 flutes per foot): Thin, lightweight, and it takes print beautifully because the surface is so smooth. It's the right call for items under about 10-15 lbs: apparel, cosmetics, books, small electronics, subscription boxes.
- B-flute (1/8" thick, roughly 47 flutes per foot): Noticeably sturdier and more crush-resistant, better for items with hard edges or corners, or anything in the 15-30 lb range that needs to survive a conveyor belt and a delivery van floor.
- Double-wall (BC-flute): Combines two flute layers. Overkill for most mailer boxes, but worth asking about if you're shipping something fragile or heavy enough that a single wall keeps arriving dented.
One number that almost never comes up but genuinely matters: Edge Crush Test (ECT) rating, printed on the box's certification stamp as something like "32 ECT" or "44 ECT." This measures how much stacking weight the box can take before it crushes, which is the number carriers and freight handlers actually care about, not just flute letter. If you're palletizing boxes for retail shipment, ask your supplier for the ECT rating, not just the flute type. A 32 ECT box stacked five high in a warehouse for two weeks in summer heat will not perform the same as it does on day one; humidity and heat both soften corrugated board over time, which is why perishable or long-storage goods sometimes need a higher ECT spec even if the flute type looks the same on paper.
Sizing Your Box: A Step You Can't Outsource to a Design Tool
Every supplier's 3D configurator will happily let you build a box in any dimension you type in. It won't tell you if that dimension is wrong for your product. A few things I've learned the hard way, or watched clients learn the hard way:
- Measure the product's actual footprint, not the packaging you're replacing. If you're switching from a poly mailer to a rigid box, your product's true dimensions (including any structural item like a jar or bottle) are what matters, not the flattened poly bag size.
- Account for insert thickness. If you're adding a cardboard divider, foam insert, or printed insert card, that eats into your interior clearance. Measure with the insert in place, not after the fact.
- Round up to standard increments where you can. Custom sizing to the exact 1/16" sounds precise, but ordering a size that's a common stock dimension (many suppliers keep pre-cut dielines for popular sizes) can shave lead time and sometimes cost, since you skip a custom tooling step.
- Test-fold before you commit to a full run. A 1-unit sample order exists for a reason. Fold it, pack your actual product in it, tape it shut, and drop it from waist height onto a hard floor. If it doesn't survive that, it won't survive a delivery truck.
Materials: Matching the Look to the Brand Story, Not Just the Budget
Most suppliers offer some version of three material families, and the naming varies (Dreamcoat, Magic White, SuperGloss are all roughly the same idea across different vendors):
- Uncoated white board: Matte finish, takes any ink color evenly, most budget-friendly of the printed options. Good default if you're not sure yet.
- Kraft board: Natural brown, unbleached look. Communicates "sustainable" and "artisanal" without you having to say either word on the box. Dark inks pop against it; pastels tend to look muddier because the base isn't white.
- Coated/gloss white board: Higher production cost, but colors read more saturated and photo-quality graphics look sharper. Worth it if your unboxing moment is a deliberate part of your marketing (think beauty, premium food, or gifting brands where the box gets photographed).
A nuance worth knowing: white ink typically can't print on kraft board at all, or prints poorly, because kraft's brown base absorbs it. If your logo depends on white text or a white background element, kraft is the wrong material regardless of how on-brand the "natural" aesthetic feels.
The Unboxing Effect Is Real, But It's Not Just About Looking Nice
Branded interior printing gets talked about as a nice-to-have. The data behind it is more specific than that: unboxing videos and photos get shared disproportionately more often when the packaging itself is distinctive, which means your box is functioning as a marketing channel with zero media spend attached to it. A few ways to actually use that real estate instead of just printing a logo on the inside lid:
- A short, handwritten-style thank-you message printed directly on the interior flap costs nothing extra if it's part of the same print run.
- A QR code inside the lid linking to a rewards program or a "how to style this" video gets seen at the exact moment the customer is most engaged with your brand.
- Leave a visible blank strip inside for a variable sticker or stamp (a "packed by" name, a batch number, a seasonal message) if you want personalization without reprinting the whole box for every campaign.
Sustainability Claims Worth Actually Checking
Nearly every supplier says "recyclable" and "eco-friendly" on their mailer box page. Here's what to actually verify instead of taking the claim at face value:
- Recycled content percentage. "Made from recycled material" could mean 10% or 100%. Ask for the specific percentage if sustainability is part of your brand claim to customers, since vague language here can create real liability under FTC Green Guides rules in the US.
- Curbside recyclability depends on what's attached. A corrugated box with a plastic window, foil stamping, or certain glossy laminates may not be accepted in standard curbside recycling in every municipality, even though the cardboard itself is recyclable. Water-based inks and uncoated finishes cause the fewest issues.
- FSC certification (Forest Stewardship Council) is a stronger, independently verified claim than "sustainably sourced," which has no enforced definition. If a supplier can produce an FSC chain-of-custody number, that's worth more than marketing copy.
Common Mistakes That Cost Real Money
- Approving a proof without checking it against a physical sample. A PDF proof shows color intent; it doesn't show how ink actually sits on your chosen board. Order a printed sample kit before a full production run whenever the budget allows it.
- Skipping the dieline review with your own designer. If you're uploading print-ready art instead of using the online design tool, a mismatched bleed or safe area is the single most common reason art gets rejected or printed with text cut off.
- Ignoring the glue tab or dust flap when placing text. These are print-safe but visually awkward zones. A logo that straddles a fold line or the glue tab reads as sloppy even when the printing itself is flawless.
- Ordering the same box for every SKU. If your product line has a wide size range, one box forces you to either under-protect your smallest items or overpay in dimensional weight on every shipment for your largest.
Custom Mailer Boxes vs. Other Packaging: A Quick Gut Check
| Packaging Type | Best When | Watch Out For |
|---|---|---|
| Custom mailer box | Product needs structure, brand presence matters, DTC/subscription shipping | Higher unit cost than poly, more storage space needed flat |
| Poly mailer | Soft goods, apparel, no crush risk | No branding depth, poor for anything rigid or fragile |
| Corrugated shipping box + separate branding | Heavy, oversized, or irregular items | Two packaging costs instead of one, less premium unboxing feel |
| Rigid (non-corrugated) box | Ultra-premium gifting, jewelry, electronics | Significantly higher cost, longer lead times, usually not designed to ship without an outer carton |
Frequently Asked Questions
What size mailer box should I order for my product?
Measure your product at its widest length, width, and height, add about 1/4" to 1/2" per side for padding or void fill, and round up only as much as needed. Oversizing drives up your dimensional weight shipping cost more than it improves protection.
How long does it take to receive custom mailer boxes after ordering?
Standard production typically runs 7 to 20 business days depending on the supplier and order size, not counting shipping time to you. Rush production is often available for an added fee if you need boxes faster.
Can custom mailer boxes go directly into the mail without an outer box?
Yes, that's their core design purpose. A properly sized mailer box with self-locking tabs and dust flaps is built to be dropped straight into a carrier's network without a secondary shipping carton, as long as the weight stays within the flute's capacity.
What's the minimum order quantity for custom printed mailer boxes?
It ranges widely by supplier, from single-unit sample orders up to 100 or 250 units as a standard minimum. If you're testing a design before committing to a full run, look specifically for suppliers offering 1-unit sample pricing.
Do custom mailer boxes cost more than plain shipping boxes with a separate label?
Per unit, yes, custom printing adds cost. But when you factor in the labor of applying tape, packing slips, and branded inserts separately, plus the marketing value of a branded unboxing moment, many DTC brands find the total cost comparable once volume climbs.
Is corrugated cardboard strong enough for heavier products?
It depends on the flute grade and ECT rating, not just the word "corrugated." E-flute suits lighter goods under roughly 10-15 lbs, while B-flute or double-wall board handles heavier or bulkier items. Ask your supplier for the specific ECT rating if you're shipping anything over 15 lbs.
Can I print different designs on the inside and outside of the same box?
Yes, most suppliers support separate interior and exterior print files in the same production run, though double-sided printing usually costs more than single-side printing because it's a separate press pass.
What file format do I need to submit custom artwork for a mailer box?
Most suppliers want print-ready PDF or vector files (Adobe Illustrator AI/EPS) built on their dieline template, in CMYK color mode at 300 DPI, with text kept inside the safe area and backgrounds extended to the bleed line. Ask for their blank dieline template before you start designing if you're not using their built-in 3D tool.