
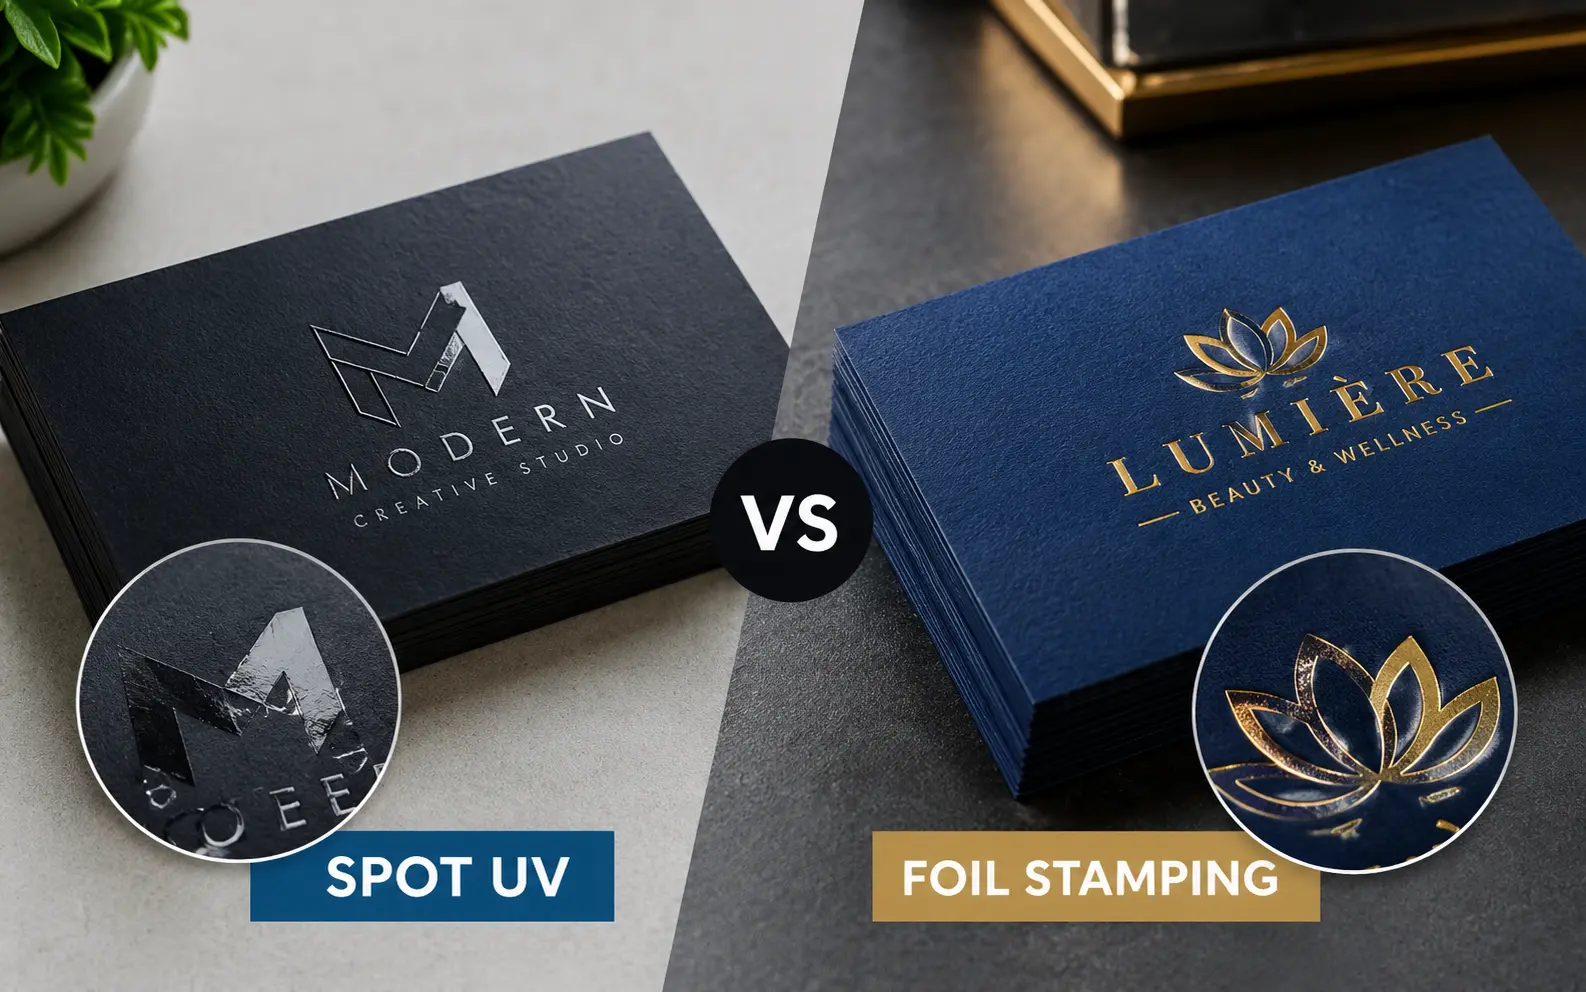
Most finishing problems I see are not taste problems. They are planning problems: a die ordered before the logo was final, varnish printed on glossy laminate, a foil logo placed across a fold.
This guide covers the decision itself and the places where each finish tends to go wrong.
Spot UV is a clear gloss varnish applied to selected areas, so it enhances the colors already printed. Foil stamping presses metallic or pigmented film onto the sheet with a heated die, so it replaces whatever sits underneath. Choose spot UV for subtle, low-cost contrast on matte stock, and foil when you need a true metallic surface and your artwork is final.
Run This Three-Question Test First
Before comparing looks, answer these. They settle most projects in a couple of minutes.
- Artwork status: If the logo, tagline or layout might still change, go with spot UV. A foil die is cut from your exact artwork, so any revision means new tooling.
- Base surface: If the piece has gloss laminate, spot UV will barely show. It needs a matte or soft-touch surface for contrast.
- Viewing distance: If people should notice it from across a shelf or table, foil wins. If it should reward someone holding the piece, spot UV does that job.
If you answered “final, any surface, from a distance,” foil is probably right. If you answered “might change, matte, up close,” choose spot UV.
The Cost Math Nobody Shows You: Die Cost Divided by Quantity
The gap between the two finishes is mostly tooling, not materials. One supplier guide puts custom foil dies at roughly $120 to $400, depending on size and complexity.
Spread that over your run and the picture changes fast. A $250 die adds $0.50 per piece at 500 units. At 5,000 units it adds $0.05.
That is why foil looks expensive on a small run and reasonable on a large one. It is also why a reorder is cheaper than the first order, since the die already exists.
Here is what published supplier numbers look like side by side:
| Finish | Setup | Published pricing example | Typical lead time |
|---|---|---|---|
| Spot UV | Mask file or digital template, no die | 500 spot UV business cards from $76.88 (4OVER4); about $0.05 to $0.12 added per box at 500 units (Packaging Vista) | 1 to 4 days on packaging (Claws); 5 business days on cards (4OVER4) |
| Hot foil | Custom metal die per foil color | 500 foil business cards from $222.13 (4OVER4); about $0.15 to $0.40 added per box at 500 units (Packaging Vista) | 5 to 12 days on packaging (Claws); 9 business days on cards (4OVER4) |
| Foil plus spot UV | Die plus mask | About $0.20 to $0.55 added per box at 500 units (Packaging Vista) | Longest of the three |
Treat these as ranges from individual suppliers, not market rates. Quotes shift with stock, coverage area and region. One more detail: every extra foil color needs its own die and its own press pass, so a two-color foil logo can cost close to double.
Where Each Finish Fails in Production
Looks are easy to compare. Failures are what cost you reprints. These are the ones worth planning around.
- Foil on film laminate: Foil can bond poorly to some plastic laminates and varnishes. Ask which foil grade the printer uses on your exact stock, and request a tape test on a sample before approving the run.
- Foil near folds: Foil placed across a score or fold can crack. Keep it at least 3mm from folds and cut edges.
- Thin foil detail: Fine serifs and tiny type fill in or break up. Foil dies need solid shapes, and published guidance puts minimum line weights at about 0.5pt to 1pt.
- Spot UV on gloss: The varnish and the laminate reflect light almost identically, so the effect nearly disappears. Matte or soft-touch under the varnish is what makes it read.
- Varnish halo: If the varnish shape sits exactly on the printed shape, a hair of press movement shows as a clear edge. Shrink the varnish shape slightly inside the printed one so any shift hides under the ink.
- Fingerprints: Glossy varnish on dark soft-touch shows every touch. I have seen a black matte box look smudged within minutes of handling under store lights.
- Shipping scuffs: Large foil areas on the outside of a mailer can micro-scuff in transit. Move big foil panels to the inside or to a sleeve.
- Scannable codes: Never put foil or gloss varnish over a QR code or barcode. Reflective surfaces make scanning unreliable.
How Each Finish Looks in Photos and on Screens
Most customers meet your piece on a phone before they ever touch it. That changes which finish earns its cost.
Foil is a mirror surface. In a photo it can flash bright white at one angle and go dark at another, so a single product shot may misrepresent your gold.
Spot UV is the opposite. It only shows under angled light, so in a flat catalog photo it can vanish completely. If spot UV is the star of your packaging, budget for a raking-light shot or a short video where the box tilts.
For social unboxing content, foil usually photographs more reliably. For close-up detail shots, spot UV on a dark matte surface looks striking.
Getting the Effect Without a Die
Short runs no longer force you into plain printing. Several routes avoid metal tooling.
- Digital spot UV: Digital embellishment systems apply varnish from a file, so there is no die and changes are free. This suits e-commerce brands that update artwork each season.
- Cold foil: Foil is applied inline during offset printing. Packaging Vista’s published estimate puts it at about $0.10 to $0.20 per box at 500 units with a softer sheen than hot stamping.
- Raised printing: A resin layer built on wet ink gives height without a die. 4OVER4 lists raised foil cards from $86.78 and raised spot UV cards from $108.75.
None of these match the sharp mirror finish of true hot foil. They are good stand-ins while the design is still moving.
Using Both on One Piece
Layering works best when each finish has a clear job. I use one rule: foil for the single hero element, spot UV for the supporting pattern.
A matte black box with a gold foil logo and a faint repeating UV pattern is the classic version. The foil gets attention first, and the pattern appears when the box tilts.
Keep the two physically apart. Varnish that runs over the edge of foil can lift at that edge. Also ask your printer about press order, since the correct sequence depends on their stock, laminate and foil grade.
Artwork and Proofing Checklist
Most reprints trace back to file setup or skipped proofs. Work through these steps before approving.
- Separate layers: Put each finish on its own named vector layer, such as “Gold Foil” and “Spot UV,” in a solid 100% spot color.
- Solid foil shapes: Avoid gradients, tint screens and photos in the foil layer. Spot UV can handle large photo panels.
- Safe line weights: Keep foil lines above roughly 0.5pt to 1pt, and spot UV details above about 0.5mm.
- Edge clearance: Keep finishes 3mm from folds and trims.
- Physical proof: Request a press proof or sample on your actual stock, because digital mockups cannot show how light behaves.
- Approval tests: Tilt it under a lamp, run a thumbnail across the edge, rub it against a second piece, and tape-test the foil.
Which Finish Fits Which Product
| Product | Better fit | Why |
|---|---|---|
| Business cards (artwork final) | Foil | Reads at arm’s length, and the back stays flat and printable |
| Business cards (design in flux) | Spot UV on matte stock | No die, so edits cost nothing |
| Rigid gift boxes | Foil logo plus UV pattern | Layered effect justifies the price on hero products |
| Shipping mailers | Spot UV | Better against transit scuffs, with foil kept to inside panels |
| Tech and minimalist packaging | Spot UV | Quiet contrast suits modern branding |
| Wedding invitations | Foil | Prestige signal, and it works on uncoated and textured stock |
| Book covers | Foil on titles, UV on art | Foil for lettering, varnish for imagery |
| Short-run test launches | Digital spot UV or raised printing | Avoids die cost while the design settles |
My Rule of Thumb
If I cannot say the artwork is final, I do not order a die. I start with spot UV on matte stock, learn how customers react, then move to foil on the reorder.
If the brand is settled and the piece needs to read as premium from several feet away, foil is worth the setup. The finish is only as good as the plan behind it.
Frequently Asked Questions
Can I write on a foil or spot UV area with a pen?
Usually not well. Ballpoint ink tends to skip or smear on cured varnish and foil. If recipients need to sign or note something, keep those areas uncoated.Is foil stamping available on dark paper?
Yes. Foil is opaque, so it covers the color beneath it. Gold or silver on navy, black and deep green is a common pairing, but test the foil color on your actual stock first.Are foil and spot UV recyclable?
It depends on the converter and local systems. Some suppliers say the thin foil layer separates in pulping, while the bigger recycling issue is often plastic film lamination. Ask your printer for specifics.What is the minimum order for each finish?
It varies widely. One online printer lists foil business cards from 500 pieces, and a packaging supplier advertises a 100-box minimum with no die fee. Always confirm with your printer.Does foil stamping make the paper thicker?
Not noticeably. Heat and pressure usually leave a slight impression, so it feels recessed more than raised. Raised effects come from raised spot UV or resin-based raised printing.Can spot UV be applied to only one side of a sheet?
Yes. It is applied selectively, so you can varnish the front only, or specific areas on each side. Confirm that the back stock and laminate suit the effect.Does spot UV work on uncoated paper?
It can, but results are less crisp, because the varnish may absorb into the fibers. Matte or soft-touch laminated surfaces give the sharpest contrast.