
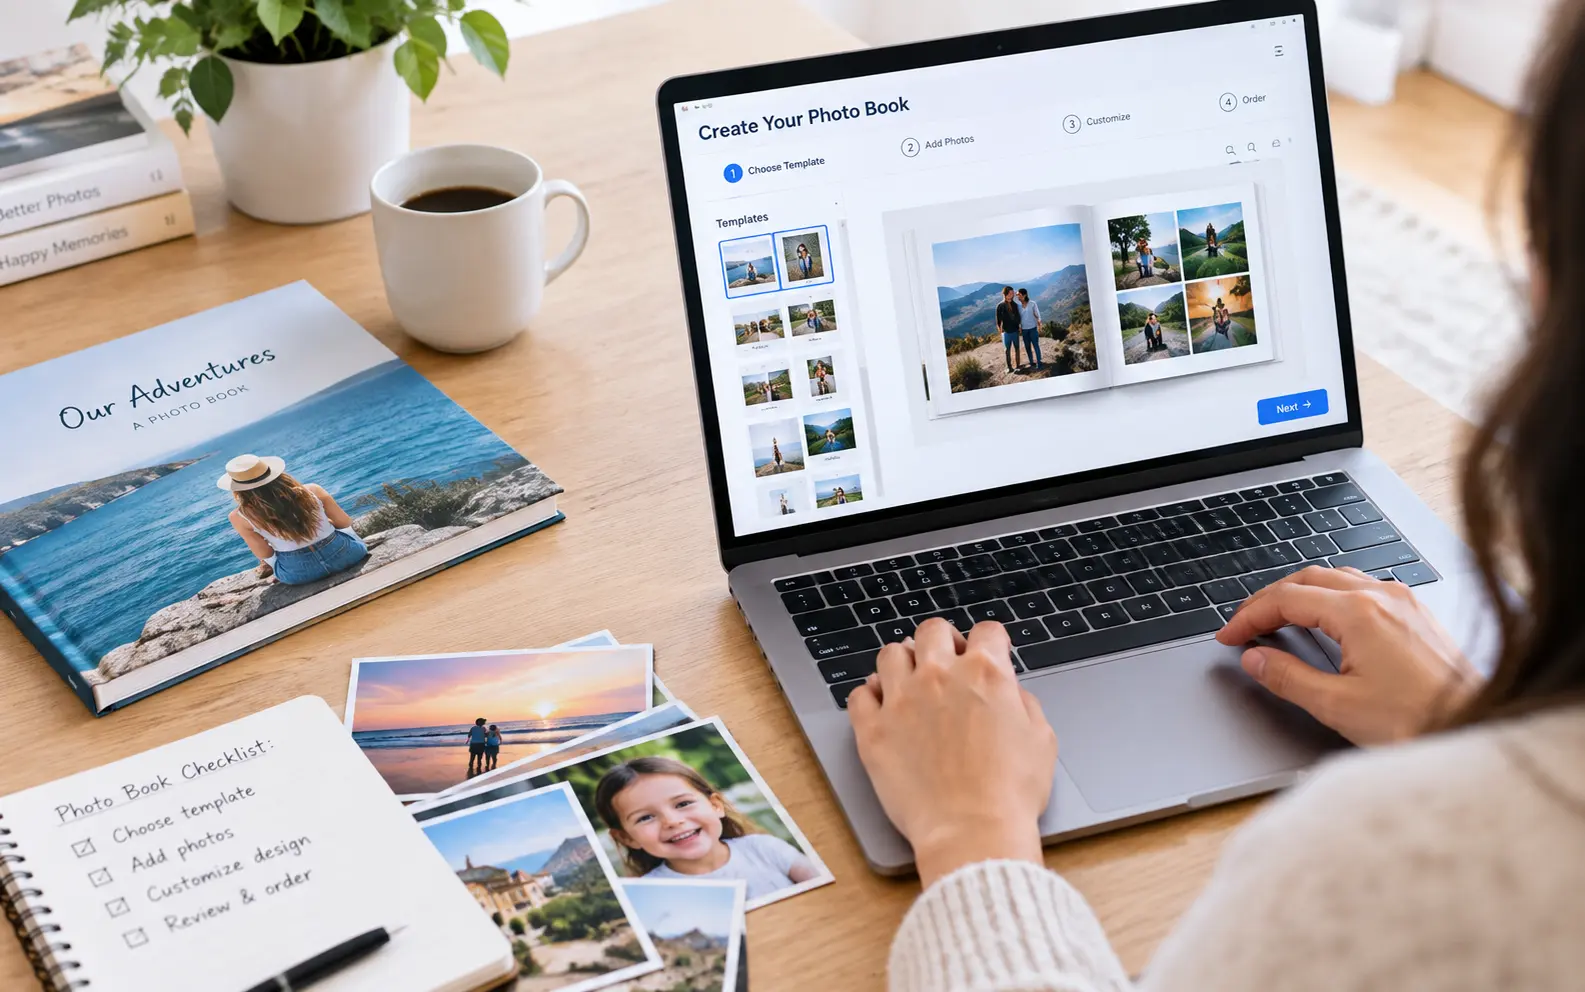
Making a custom photo book online means choosing a printing service, uploading your photos into their design software, arranging them into pages using templates or a blank layout, and ordering a printed, bound copy. Most platforms let you finish a 20-page book in under an hour, with prices ranging from $15 for a basic softcover to $80+ for a premium layflat album. The real difference between a photo book you love and one that disappoints you comes down to a handful of technical details almost nobody explains upfront, and that's what this guide covers.
I've built dozens of these books over the years, for weddings, baby albums, and yearly family recaps, and I've made most of the mistakes so you don't have to. Let's get into what actually matters.
Why Your First Photo Book Attempt Often Falls Short
Most people jump straight into a template, drag in photos, and hit order. Then the book arrives and something feels off: a face looks blurry on page 12, a photo got cut in half at the spine, or the colors look duller than they did on screen.
None of these are random bad luck. They're predictable outcomes of skipping a few steps that competitor guides tend to gloss over.
The three biggest culprits:
- Low-resolution images stretched to fill a large photo slot
- Important subjects placed too close to the gutter (the crease where pages meet)
- Screen colors that don't match printed colors because of how phone and monitor displays render brightness
I'll walk through how to avoid each of these below, along with the parts of the process that actually shape whether your finished book looks professional or amateur.
Step 1: Sort Your Photos Before You Touch a Template
Don't open the book editor first. Open your camera roll first.
Pull every photo you're considering into one folder, whether that's a phone album, a Google Photos album, or a folder on your desktop. Then do a rough cull: delete duplicates, blurry shots, and near-identical burst photos. You want your best 60 to 100 images for a 20-page book, not your entire library.
A pacing rule most guides skip: aim for roughly 3 to 5 photos per two-page spread. Cramming 10 photos onto one spread makes each image tiny and hard to enjoy. A book with breathing room, one full-page photo every few spreads, reads far better than one stuffed edge to edge.
If you're working from old prints or scanned photos, scan at a minimum of 300 DPI. Anything scanned at web resolution (72 DPI) will look soft or pixelated once it's blown up to fill a page.
Step 2: Check Resolution Before You Upload, Not After
This is the step almost every competitor article skips entirely, and it's the single biggest reason people end up disappointed with their printed book.
Every photo book platform has a minimum resolution requirement for each photo slot, usually flagged with a small warning icon (a yellow or red exclamation mark) once you drop an image into a layout. That warning means the image doesn't have enough pixel density to print sharp at that size.
Quick math that saves you a reprint:
- A full-page 8x8 photo needs roughly 2,400 x 2,400 pixels to print cleanly at 300 DPI
- A small quarter-page photo can get away with 1,200 x 1,200 pixels
- Photos saved from social media (Instagram, Facebook, WhatsApp) are almost always compressed down to web resolution, so they'll trigger low-res warnings even if they looked fine on your phone
If a platform doesn't flag low resolution and lets you place a tiny phone screenshot into a full spread, don't trust that it will magically print fine. Zoom into the image at 100% on your screen. If it looks fuzzy at that zoom level, it'll look fuzzy in print, only worse, since ink spreads slightly on paper.
Step 3: Pick a Platform Based on What You're Actually Making
Every provider is optimized for a slightly different type of project. Here's how the major players actually differ once you get past their homepage marketing.
| Platform | Best For | Typical Starting Price | Standout Feature |
|---|---|---|---|
| Mixbook | Design flexibility, scrapbook-style layouts | $20 for 20 pages | Unlimited free layout customization |
| Shutterfly | Fast templates, frequent sales | $13-30 (with codes) | Free 24-hour designer service |
| Canva | Anyone who already designs in Canva | $15-25 | Drag-and-drop with brand/font libraries |
| Blurb | Professional-grade printing, self-publishing | $30-45 | Bookstore-quality paper, ISBN options |
| Snapfish | Budget-conscious, frequent discounts | $10-20 | Aggressive promo pricing |
| Walmart Photo | In-store pickup, last-minute gifts | $15-25 | Same-day pickup at some locations |
| Walgreens Photo | Same-day local pickup | $20-30 | Pharmacy-adjacent pickup convenience |
A few notes behind these numbers, since sticker prices alone don't tell the full story:
- Blurb's paper stock is genuinely a step above the mass-market services. If you're making a book to sell, gift to in-laws, or submit as a portfolio, the paper weight difference is noticeable the moment you hold it.
- Mixbook's layout freedom cuts both ways. You get more control, but it also means it's easier to create a cluttered page if you're not paying attention to alignment and whitespace.
- Discount codes for Shutterfly and Snapfish move so fast that the "starting price" is almost meaningless. Wait a few days if you're not in a rush; a 40-50% off code will almost always show up.
Step 4: Design Around the Gutter, Not Just the Page
Here's a detail that ruins more photo books than any other design mistake: the gutter, the seam where two pages meet in the middle of a spread.
On a standard-bound photo book, a photo that spans a two-page spread will lose a chunk of its center to the binding curve. A face positioned dead-center in a panoramic shot can literally get swallowed by the spine.
How to avoid it:
- When placing a photo across two pages, check where faces, hands, or important details land. Nudge the image so nothing critical sits within about half an inch of the center line.
- If a photo has an important subject dead-center, keep it on a single page instead of stretching it across the spread.
- Layflat binding (offered by most premium tiers) largely solves this problem because the pages open completely flat with minimal curve loss. If your book is full of wide group shots or landscape photography, layflat is worth the extra cost.
Step 5: Match What You See On Screen to What You'll Get in Print
Phone and laptop screens are backlit, which makes colors look more vibrant and saturated than ink on paper ever will. This is why a lot of first-time photo book buyers open their package and think the colors look "flat" compared to the preview.
A few practical fixes:
- Turn down your screen brightness to a more neutral, moderate level while you're editing your book. Full brightness exaggerates how punchy your colors look.
- Avoid heavy phone filters right before uploading. Filters that boost contrast and saturation can push skin tones into an unnatural range once printed, especially on matte paper.
- Choose glossy paper if color vibrancy matters most to you (travel books, landscapes). Choose matte paper if you want to avoid glare and fingerprints, and don't mind slightly softer color output.
- Order a single sample page or a small trial book first if the platform offers one, especially before committing to a large or expensive order like a wedding album.
Step 6: Build In Time for Editing Rounds, Not Just Printing Time
Most competitor guides quote shipping time and stop there. But the real timeline of making a photo book has three phases, and the design phase is the one people underestimate.
Realistic timeline for a 20-30 page book:
- Photo selection and culling: 1-3 hours (longer if pulling from a full year of photos)
- Layout and design: 2-5 hours, more if you're a perfectionist about alignment and captions
- Review pass: at least one full day gap between finishing your draft and doing a final review. Fresh eyes catch typos and cropping mistakes that tired eyes miss.
- Printing and shipping: typically 3-10 business days depending on the platform and shipping tier
If you're making a book as a holiday or birthday gift, start at least two weeks out. Rush shipping exists, but it costs extra and doesn't fix a rushed design.
Step 7: Save Your Project File, Not Just the Finished Book
Once you place your order, don't delete the project. Most platforms keep your design saved to your account indefinitely, which means you can:
- Reorder extra copies later for grandparents, siblings, or a second household, without rebuilding anything
- Duplicate the project as a starting template for next year's version (handy for annual family recap books)
- Go back and fix a typo or swap a photo if you catch something after the fact, before ordering again
If you ever switch platforms, most services let you export a low-res PDF proof of your layout, which is worth keeping as a backup reference even if you can't reuse the actual editable file elsewhere.
Quick Reference: What to Check Before You Hit "Order"
- No low-resolution warning icons on any photo
- No important faces or details sitting in the gutter/spine area
- Text and captions spell-checked (read them out loud, it catches more errors)
- Cover title and spine text are correct, especially names and dates
- Page order matches the story you're trying to tell
- You've previewed the book in full-screen mode, not just thumbnail view
Frequently Asked Questions
How many photos do I need for a custom photo book?
For a standard 20-page book, plan for 60 to 100 photos to choose from, then narrow that down to around 3 to 5 photos per spread. Having too few photos to choose from often leads to weaker, blurrier picks just to fill space.Can I make a photo book from Instagram or Facebook photos?
You can, but be careful. Photos downloaded from social media are usually compressed to a much lower resolution than the original file, so they may look pixelated once printed at a large size. Try to source the original camera roll version whenever possible.Is it cheaper to make a photo book online or print it at home?
Home printing and binding, like the DIY accordion-style method some crafters use, can be cheaper for a single small book if you already own a good printer and cardstock. But for anything over 20 pages, a professional binding service almost always ends up more durable and, once you factor in ink and paper, comparably priced.What's the difference between a layflat and a standard-bound photo book?
A layflat book opens completely flat with almost no visual loss at the spine, which makes it ideal for panoramic or full-spread photos. A standard-bound book is lighter and cheaper but loses a bit of the image into the curve of the binding when two-page photos are used.How long does it take to receive a custom photo book after ordering?
Most platforms print and ship within 3 to 10 business days depending on the shipping speed you choose. Some retailers with retail partnerships, like Walmart or Walgreens, offer same-day or next-day local pickup instead of shipping.Can I edit a photo book after I've placed the order?
Once an order is submitted and enters production, you typically cannot change it. Most platforms do allow a short window (often under an hour) to cancel and re-edit before printing begins, so review carefully before final checkout.Do I need special software to make a photo book online?
No. Every major provider uses a browser-based or app-based editor, so you don't need to install design software. A basic understanding of drag-and-drop layout tools is all that's required.